Checking an air mattress for holes is an essential step in maintaining its durability and ensuring a good night’s sleep. To effectively check for and locate holes in an air mattress, follow these simple methods. Start by removing all sheets and bedding to provide a clear view of the mattress surface. Move the mattress to a well-lit area and ensure it is properly inflated without overfilling. Thoroughly inspect the valve, as it is a common area for leaks to occur.
One popular method is the dish soap method. Apply soapy water around the valve and systematically cover the surface of the mattress, looking for bubbles that indicate a leak. Another approach is to visually inspect the mattress by fully inflating it and searching for any visible holes or tears. You can also run your hand or apply pressure along the surface of the mattress to feel for escaping air or listen for hissing sounds.
If you prefer alternative methods, you can submerge the mattress in water or use a garden hose to spray it. By observing bubbles forming, you can easily identify the areas needing repair. Once you have located a leak, mark it with a permanent marker and make sure to dry the mattress completely before attempting to repair it.
By following these methods, you can easily locate and repair any holes in your air mattress, ensuring a leak-free and restful sleep every night.
Removing Bedding and Inflating the Mattress
Begin by removing all bedding and then carefully inflate the air mattress to its recommended level without overfilling. This will allow for a clear view of the mattress surface and ensure an accurate inspection. Inflating the mattress properly is crucial to accurately detect any potential holes.
Once the mattress is fully inflated, it’s important to inspect the valve to ensure it is properly sealed. The valve is a common area for leaks, so a thorough examination is necessary. Check for any signs of a loose or damaged valve that could be causing air leakage.
Remember to handle the mattress gently throughout this process to avoid causing any accidental damage. By following these steps, you will be well-prepared to proceed with the next stage of checking for holes in your air mattress.
Removing Bedding and Inflating the Mattress
| Step | Description |
|---|---|
| 1 | Remove all bedding and sheets from the air mattress to provide a clear view of the surface. |
| 2 | Inflate the mattress carefully to its recommended level without overfilling. |
| 3 | Thoroughly inspect the valve to ensure it is properly sealed and not causing any air leakage. |
By following these steps and ensuring proper inflation, you will be ready to proceed with the next sections of checking for holes in your air mattress.
Inspecting the Valve
Start by closely examining the valve, making sure it is tightly sealed and not allowing any air to escape. A properly sealed valve is crucial to preventing leaks in an air mattress. Take a moment to inspect the valve for any visible signs of damage or wear, such as cracks or tears. If you notice any issues with the valve, it may need to be replaced to ensure a proper seal.
Table 1: Common Valve Issues
| Issue | Description |
|---|---|
| Cracks | Visible cracks in the valve can cause air leakage. |
| Tears | Torn or damaged valve can compromise the seal. |
| Wear and Tear | Over time, the valve may degrade, leading to air leaks. |
If the valve appears to be in good condition, gently press down on it to ensure it is securely closed. Sometimes, the valve may not be fully closed, causing air to escape. If you feel or hear air escaping when you apply pressure, try adjusting the valve and test it again.
Table 2: Troubleshooting Valve Issues
| Issue | Solution |
|---|---|
| Valve not closing fully | Adjust the valve by turning it clockwise until it is tightly closed. |
| Air escaping when pressure is applied | Check for any debris or foreign objects around the valve, remove them, and retest. |
| Valve damaged or not sealing properly | Consider replacing the valve with a new one to ensure a proper seal. |
By thoroughly inspecting the valve and ensuring it is properly sealed, you can eliminate this common area for air mattress leaks. This step is essential in the process of checking for holes to ensure a leak-free sleeping experience.
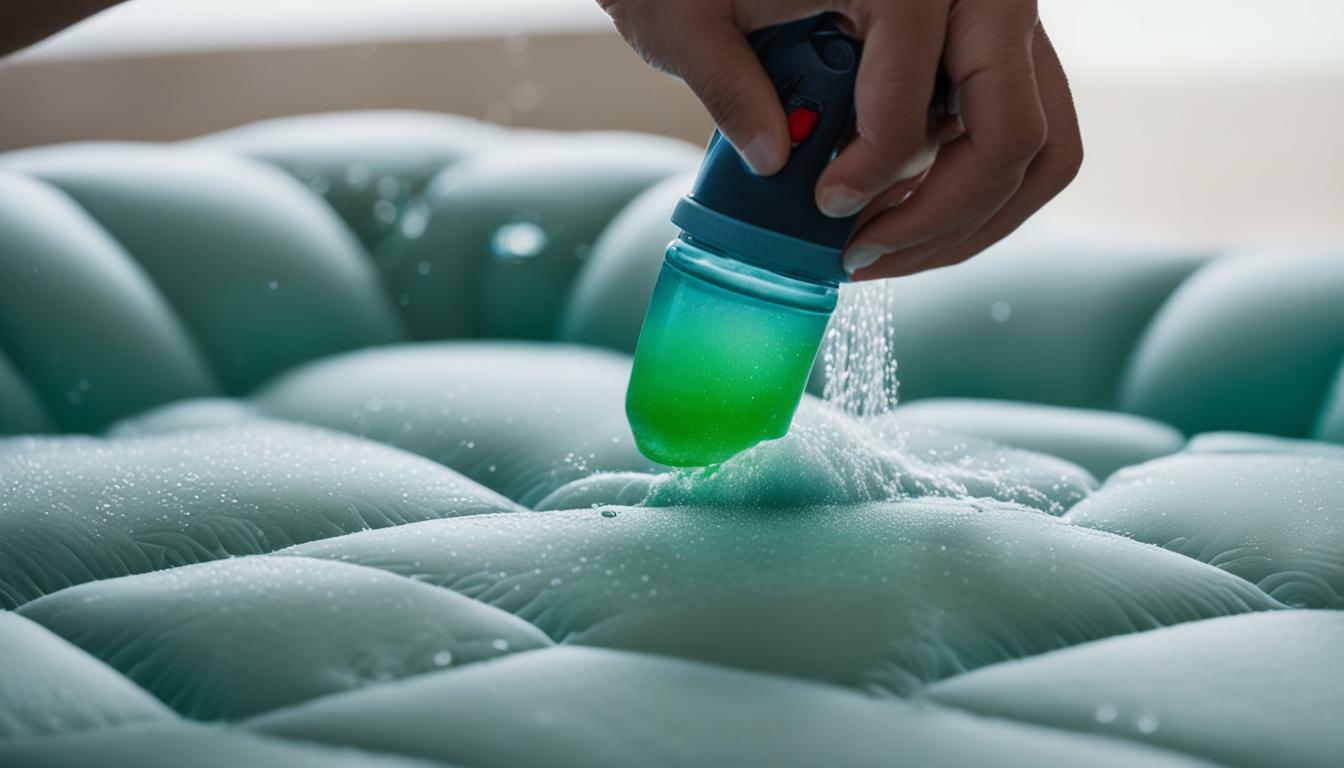
Using the Dish Soap Method
To use the dish soap method, spray or wipe soapy water around the valve and systematically cover the surface of the mattress, looking for the formation of bubbles. This is a simple yet effective way to detect holes in an air mattress. The soap bubbles will indicate areas where there is a leak, allowing you to pinpoint the exact location for repair.
Note: It is important to ensure the soapy water is applied evenly across the mattress surface to avoid missing any potential leaks. Take your time and be thorough in your examination.
As you spray or wipe the soapy water, keep an eye out for any bubbles that form. These bubbles will indicate the presence of a hole or leak. The size and frequency of the bubbles can also help determine the severity of the leak. Make sure to inspect all areas of the mattress, including the sides and corners, as leaks can occur anywhere.
By using the dish soap method, you can easily locate and identify any leaks in your air mattress, ensuring a quick and effective repair. Remember to dry the mattress thoroughly before attempting any repairs to prevent further damage. With this method, you can enjoy a comfortable night’s sleep without worrying about any unwanted air leakage.
Visual Inspection and Sensory Evaluation
A thorough visual inspection involves fully inflating the air mattress and carefully examining the surface for any signs of holes or tears, as well as using your senses to detect leaks. Start by removing all bedding and placing the mattress in a well-lit area. Inflate it without overfilling, ensuring it is at its maximum capacity.
Next, visually inspect the entire mattress by systematically checking every inch of its surface. Look for any visible holes, punctures, or tears. Pay close attention to seams and corners as these are common areas for leaks to occur. If you notice any irregularities, mark them for repair. It’s important to be thorough as even small holes can cause significant air leakage.
In addition to visual inspection, use your sense of touch to feel for escaping air. Run your hand lightly or apply gentle pressure along the surface of the mattress, paying attention to any areas that feel cooler or where you detect a slight draft. These could indicate the presence of a hole.
Lastly, use your sense of hearing to listen for any hissing sounds. This can be done by placing your ear close to the mattress surface and listening carefully. If you hear a faint hissing sound, it may suggest a leak nearby. This method can be particularly useful when inspecting larger mattresses or when searching for hard-to-find holes.
| Visual Inspection and Sensory Evaluation |
|---|
| Step 1: Remove all bedding and place the mattress in a well-lit area. |
| Step 2: Inflate the mattress to its maximum capacity. |
| Step 3: Carefully visually inspect the surface for holes, tears, and irregularities. |
| Step 4: Use your sense of touch to feel for escaping air along the mattress surface. |
| Step 5: Listen for any hissing sounds that might indicate a leak. |
Submerging in Water or Using a Garden Hose
Another way to check for holes in an air mattress is to submerge it in water or use a garden hose to spray it, watching carefully for the formation of bubbles. This method is effective for locating leaks that may not be visible to the naked eye. Here’s how you can use this technique:
- Find a large container or a bathtub that is big enough to accommodate the air mattress.
- Fill the container or bathtub with water, making sure that it is deep enough to fully submerge the mattress.
- Gently lower the air mattress into the water, ensuring that it is fully submerged.
- Observe the mattress closely for the formation of bubbles. Bubbles will indicate the presence of a leak.
- If bubbles appear, mark the area immediately using a permanent marker. This will help you locate the leak later during the repair process.
If you don’t have a large container or a bathtub available, you can use a garden hose to spray water onto the surface of the mattress instead. Follow these steps:
- Inflate the air mattress and place it in an outdoor area where the water won’t cause any damage.
- Using the garden hose, spray water onto the surface of the mattress, covering it thoroughly.
- Keep a close eye on the mattress and watch for the formation of bubbles.
- If bubbles appear, mark the area using a permanent marker.
After using either of these methods, make sure to dry the mattress completely before attempting any repairs. This will help prevent any further damage to the mattress and ensure a successful repair process.
Marking and Repairing Leaks
When a leak is found, mark it with a permanent marker and make sure to thoroughly dry the mattress before attempting to repair it. Properly marking the location of the leak is essential for an effective repair process. Use a permanent marker to draw a small circle or dot around the area where the leak was detected. This will serve as a clear reference point for later repair. Ensure that the marker does not bleed or smudge, as this may make it difficult to locate the exact spot when it’s time to fix the mattress.
After marking the leaks, it is crucial to dry the mattress completely before proceeding with the repair. Moisture can interfere with the adhesive or patching material, affecting the effectiveness of the repair. Use a dry towel or let the mattress air dry completely in a well-ventilated area. Once the mattress is dry, you can proceed with the necessary repairs to ensure a leak-free sleep surface.
Repairing an air mattress can be done using a patching kit specifically designed for this purpose. These kits usually contain adhesive and patches that adhere to the mattress material, creating a seal over the leak. Follow the instructions provided in the patching kit carefully, as different kits may have specific application methods. Apply the adhesive directly to the patch and press it firmly onto the marked area. Smooth out any air bubbles and allow the adhesive to fully dry before re-inflating the mattress.
Table: Steps for Repairing an Air Mattress
| Step | Description |
|---|---|
| 1 | Mark the location of the leak using a permanent marker. |
| 2 | Thoroughly dry the mattress to remove any moisture. |
| 3 | Apply adhesive to the patch provided in the repair kit. |
| 4 | Press the patch firmly onto the marked area, avoiding air bubbles. |
| 5 | Allow the adhesive to fully dry before re-inflating the mattress. |
By following these steps, you can effectively mark and repair leaks in an air mattress, restoring its functionality and ensuring a comfortable sleep. Remember to always read and follow the instructions provided with your specific repair kit for the best results.
Conclusion
Regularly checking an air mattress for holes is essential for preserving its quality and ensuring a good night’s sleep. By following the step-by-step methods outlined in this article, you can easily locate and repair any leaks, allowing for a leak-free and restful sleep every night.
To begin the inspection process, start by removing all sheets and bedding from the air mattress. This will provide a clear view of the mattress surface and make it easier to detect any potential holes. Inflating the mattress properly without overfilling it is crucial for an accurate examination.
Inspecting the valve is another important step in checking for holes. Take the time to thoroughly inspect the valve to ensure it is properly sealed and not causing any air leakage. This will help identify any potential leaks in a common problem area.
Next, you can use the dish soap method to detect leaks. Apply soapy water around the valve and systematically cover the surface of the mattress. Look for bubbles forming, as this indicates a leak. Alternatively, visually inspect the fully inflated mattress for any visible holes or tears. Run your hand or apply pressure along the surface to feel for escaping air or listen for hissing sounds.
If you’re still having trouble locating a leak, consider submerging the mattress in water or using a garden hose to spray it. Observe for bubbles forming, which will help identify the areas needing repair. Once you have located a leak, mark it with a permanent marker and ensure the mattress is completely dry before attempting to repair it.
By regularly checking your air mattress for holes using these methods, you can extend its lifespan and enjoy a comfortable and uninterrupted sleep every night. Don’t overlook this simple yet crucial step in maintaining the quality and functionality of your air mattress.
FAQ
Q: How do I check for holes in an air mattress?
A: To check for holes in an air mattress, start by removing the sheets and bedding. Move the mattress to a well-lit area and inflate it without overfilling. Inspect the valve first, making sure it is properly sealed. Next, you can use the dish soap method by spraying or wiping soapy water around the valve and then systematically covering the surface of the mattress. Look for bubbles that indicate a leak. Another method is to visually inspect the mattress, fully inflating it and looking for any visible holes or tears. You can also run your hand or apply pressure along the surface of the mattress to feel for escaping air or listen for hissing sounds. Submerging the mattress in water or using a garden hose to spray it can also help locate leaks by looking for bubbles. Once you find a leak, mark it with a permanent marker and make sure to dry the mattress completely before attempting to repair it.
Q: Why is removing bedding important when checking for holes?
A: Removing bedding is important when checking for holes in an air mattress because it allows for a clear view of the mattress surface. By removing the sheets and bedding, you can easily detect any potential holes or tears that may be causing air leakage.
Q: How do I inspect the valve of an air mattress?
A: To inspect the valve of an air mattress, start by making sure it is properly sealed. Thoroughly examine the valve for any signs of wear or damage. Ensure that it is securely closed and not causing any air leakage. If needed, use a cloth or tissue to wipe away any debris that may be obstructing the valve.
Q: How do I use the dish soap method to check for holes?
A: To use the dish soap method, mix a small amount of dish soap with water to create a soapy solution. Spray or wipe this solution around the valve and then systematically cover the surface of the mattress. Look for bubbles that form, as they indicate a leak. Pay close attention to any areas where bubbles are present, as these will require repair.
Q: What are some visual inspection and sensory evaluation techniques I can use?
A: When visually inspecting an air mattress, fully inflate it and look for any visible holes or tears. Carefully examine the surface, paying close attention to seams and edges. Additionally, run your hand along the surface or apply pressure to feel for any escaping air. You can also listen for hissing sounds, as they may indicate a leak.
Q: Can I submerge the air mattress in water or use a garden hose?
A: Yes, submerging the air mattress in water or using a garden hose to spray it can help locate leaks. By observing any bubbles that form, you can easily identify the areas needing repair. However, make sure to completely dry the mattress before attempting any repairs.
Q: How should I mark and repair the leaks?
A: Once you have located a leak, mark it with a permanent marker for future reference. This will help you easily identify the area when it comes time to repair the air mattress. To repair the leaks, follow the manufacturer’s instructions or use an appropriate repair kit. Make sure to thoroughly dry the mattress before proceeding with the repair.

- How to Turn off Deep Sleep Mode on Brother Printer Mfc-l2707dw? - October 25, 2023
- How to Tell if Your Girlfriend Used to Sleep Around? - October 25, 2023
- How to Get My Cat to Sleep? - October 25, 2023